
Simply Fast
Introduction
Simply Fast is a context based collection of shortcuts as well as some operators mainly useful for mesh editing and rigging. All shortcuts and tools can be found inside the N-Panel.
There is also a Popup panel triggered by pressing F1 or Mouse5 which will show up near the mouse cursor inside 3D View window. It has less functionality as all functions I know the Blender shortcut for are missing there.
Why?
While predominantly utilizing Blender for modeling hard surface objects, some interactions within the user interface prove time-consuming, detracting from the overall enjoyment of the experience. Frequently accessed properties are often buried inside tabs or panels, requiring a lot of effort to display the desired UI elements.
As an illustration, I prefer to quickly rename an object without having to search the outliner and without loosing focus of the currently visible material property window.
Simply Fast tries to remedy this by providing a limited number of tools and shortcuts.
Warning
This addon is built on bad personal habits and workflow experience developed over the years and may not align with everyone's preferences.
Overview
Features
- N-panel UI
- Additional popup panel
- Two sets of custom icons, light and dark
Installation
- Open Blender and go to the Addon preferences under
Edit>Preferences>Add-ons - Press the
Install...button, find and select the downloaded .zip - Activate the addon
Usage
General
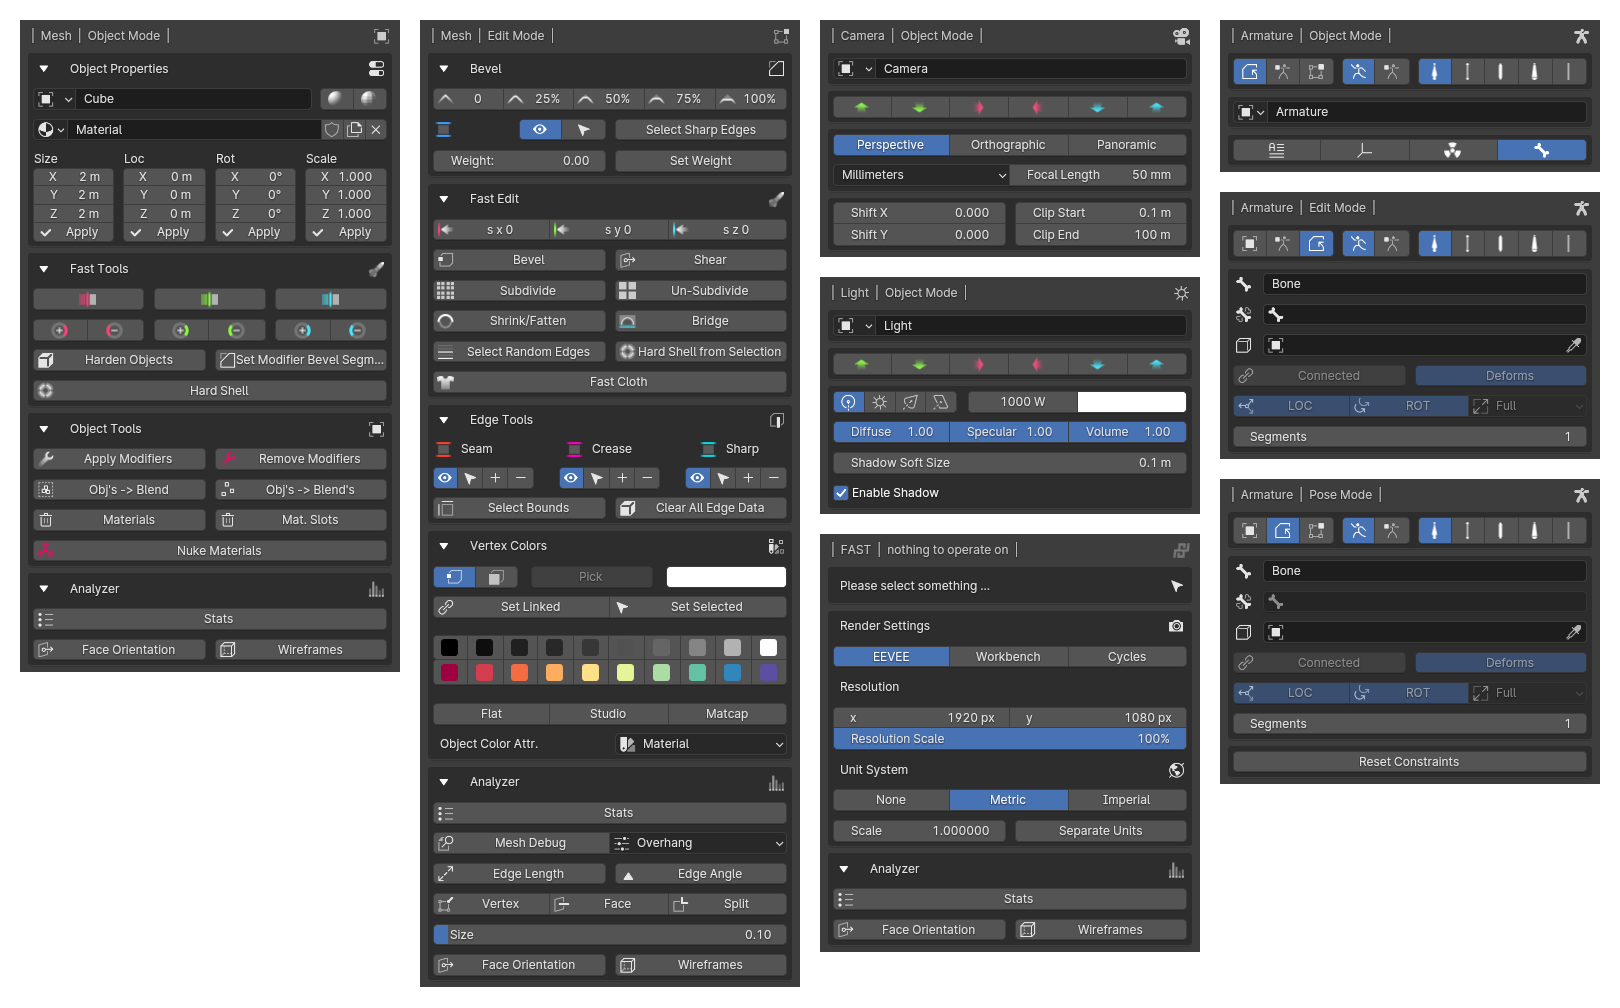
The UI is context sensitive and displays different controls depending on the active object as well as its current editing mode. Supported objects are meshes, armatures, lights and cameras. With unsupported objects active only the objects name is displayed.
| Mesh | Object Mode |
Object Properties
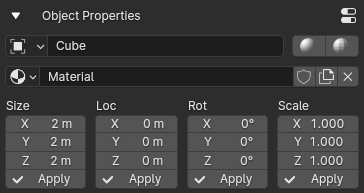
- Object name property
- Shortcuts for 'Shade Smooth' and 'Shade Flat'
- Material properties
- Object transform properties
- Apply transform operators (active object)
Fast Tools
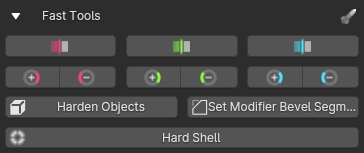
Mirrorize Objects
Adds mirror modifier to selected objects, bisects meshes and deletes redundant geometry by default. Also applies rotation by default, scale and location can be enabled in the operator panel.
It is also possible to use the mirrorize operators in sequence for mirroring multiple axes, the objects will still have on mirror modifier with multiple axes enabled.
Fast Rotate
Increases or decreases object rotation on given axis by 90 degrees. Hold down ctrl key while pressing button to rotate in 45 degree steps.
Harden Objects
Enables auto smooth property, adds bevel and weighted normal modifiers with specific settings for hard surface modelling. Bevel weights are set based on sharp angled edges per default. Bevel width can be adjusted in the operator panel along with the other default properties.
Depending on the object scale the operator result might not be immediately visible, adjust the bevel width in the operator panel to the desired value.
Set Modifier Bevel Segments
Allows to quickly set the segment count of bevel modifiers on selected objects.
Hardshell
Creates solid plates from object geometry by adding edge split, solidify, bevel and weighted normal modifiers. Before using this operator it is recommended to define the the plates by marking the surrounding edges sharp instead of splitting the mesh into separate parts. (non destructive)
Adjust plate thickness, bevel width and other settings in the operator panel.
Object Tools
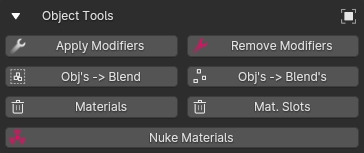
- Apply modifiers on selected objects
- Remove modifiers from selected objects
- Remove materials from selected objects, keep slots
- Remove material slots from selected objects
- Nuke materials (Unlink and delete all materials in blend file)
- Objects to blend (Save selected objects to single blend file)
- Objects to blends, (Save each selected object to individual blend file)
Analyzer
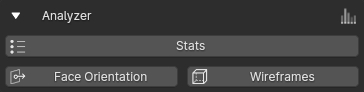
- Show stats in 3D view
- Show face orientation in 3D View
- Show wireframes in 3D view
| Mesh | Edit Mode |
Bevel:

- Set bevel weight to preset value from 0.0 to 1.0 in 0.25 increments
- Show and hide bevel overlay
- Select beveled edges
- Shortcut for Select Sharp Edges operator
- Slider for setting bevel weight on selected edges
- Set Weight on selected edges, the value ist taken from the Weight slider
When a bevel and weighted normal modifier are present in the modifier stack additional settings are displayed: - Keep Sharp, setting from weighted normal modifier - Amount, set main bevel width in bevel modifier - Toggle clamp overlap in bevel modifier - Set profile of bevel modifier - Set segment count of bevel modifier
Fast Edit
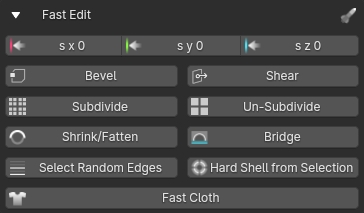
- Selection to Zero: Scales selected vertices along chosen axis to zero in relation to transform pivot point
- Shortcut for bevel operator
- Shortcut for shear operator
- Shortcut for subdivide operator
- Shortcut for un-subdivide operator
- Shortcut for shrink/fatten operator
- Shortcut for bridge operator
- Select random edges
Hardshell from Selection
This works like the Hardshell operator in object mode except it sets previously selected edges automatically as sharp.
Fast Cloth
Adds cloth panels to selected faces. Several settings like: pinning, pressure, gravity, collision and stiffness can be adjusted to user needs at the beginning.
Then Blender switches to object mode and the cloth simulation is played. Settings can be tweaked further inside the operator panel.
Inside the Fast Tools section an sub panel (Cloth Settings) pops up, with properties for further tweaking and an Apply Cloth operator to make changes from current frame permanent.
Edge Tools
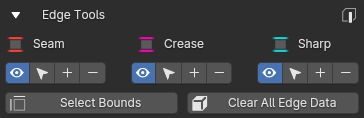
- Show and hide seam, sharp and crease overlays
- Select seam, sharp and crease edges
- Set seam, sharp and crease to 0 or 1 on selected edges
- Select Bounds: Selects non manifold edges
- Clear all edge data (bevel, seam, sharp and crease) from selected edges
Vertex Colors
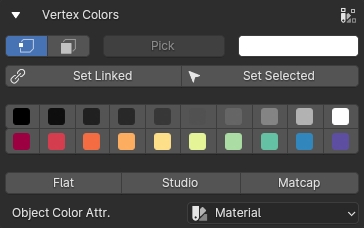
Allows to assign vertex color directly to selected mesh parts without painting. These can be used to create ID maps or as color input in materials.
Mode setting
When set to vertex, each vertex will be colored with the selected color. This will lead to smooth transitions between two vertices with different colors. In face mode, only the vertices belonging to the selected face are colored which results in hard transitions between colors.
Note that selecting a mode also switches blenders select mode accordingly between vertex and face select.
- Pick: Picks color from active vertex or face, depending on prior selected mode
- Color picker stores picked color or lets user choose a color
- Set Linked: Assigns picked vertex color to all linked geometry of current selection
- Set Selected: Assigns picked vertex color to current selection
-
20 color presets that will be assigned to selection by clicking
-
Quickly change viewport shading between Flat, Studio and Matcap
- Shortcut to choose Attribute as color input for viewport preview
| Armature | Object Mode |
Object, Edit, and Pose Mode

- Toggle switch for object, edit and pose mode
- Toggle switch for Rest and Pose mode
- Bone display type selector
Object Mode

- Display bone names
- Display bone axes
- Show bones in front
- Display custom bone shapes
When action are assigned to armature: - Select action - Set render range to current action length
| Armature | Edit Mode |
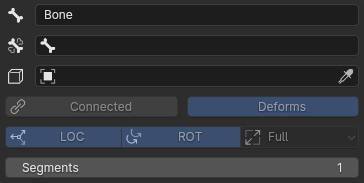
- Set bone name
- Set bone parent
- Set custom bone shape
- Set connected to parent
- Set bone to use deform
- Set bone to use local location
- Set inherit rotation and scale
- Set bone segments
| Armature | Pose Mode |
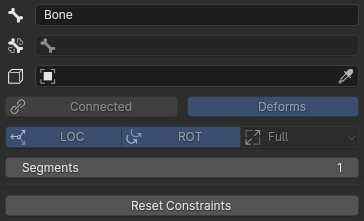
- Set bone name
- Display bone parent
- Set custom bone shape
- Display if connected to parent
- Set bone to use deform
- Set bone to use local location
- Set inherit location and scale
- Set bone segments
- Reset constraints on selected bones
| Camera | Object Mode |


- Set camera name
- Set camera look direction. (front, back, left, right, top, bottom)
- Switch camera type
- Set FOV and focal length
- Set camera shift
- Set near and far clipping
| Light | Object Mode |
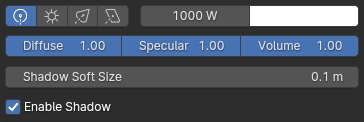
- Set light name
- Set light look direction. (front, back, left, right, top, bottom)
- Set light type
- Set light energy and color
- Some light type specific settings
| FAST | nothing to operate on |
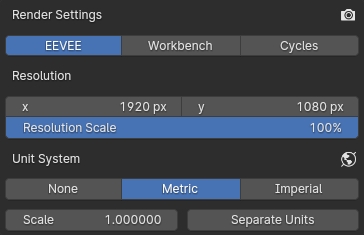
This panel is visible when nothing is selected. To fill up the empty space some general settings are placed here.
- Set render engine
- Set render resolution
- Set scene units
Tip
When using the popup panel sometimes it happens that the object to be edited is active but not selected, so we end up here. Just press the | FAST | nothing to operate on | label to select the active object without leaving the popup.
This only works in the popup panel!
Tip
Press the | Mesh | Object Mode | or | Mesh | Edit Mode | label on the popup panel to quickly toggle between edit and object mode.
This only works in the popup panel!
Hidden Operators
3D Cursor Snapping
For users of the Blender 27x keymap there is an operator which overrides the default behavior of the 3D cursor placement when clicking the left mouse button. Instead of placing the 3D cursor to current mouse position it snaps to the active Object origin in object mode or to the active selected mesh part in edit mode.
This can be disabled in the addon preferences, just disable the Snap 3DCursor to Selection mapping.
Suzy
Search for ape_append in the operator search field to append a modernized Suzanne.
Preferences
- Property to select bright or dark icon theme
- Keyboard and mouse shortcuts